How to Make Resin Keychains – Resin keychains are a popular handmade gift and also an easy craft project that you can do in just a few hours. With just a few supplies and simple techniques, anyone can make resin keychains that look like they came from an artisan shop.
These cute little tokens of appreciation have grown in popularity over the last couple of years. Making your own resin keychains not only gives you something unique to give as gifts, but also saves you money on buying them from a store.
Making these key chains is really easy and requires no special skills or prior experience with crafting. If you’re thinking of making some yourself, read ahead for some helpful tips and tricks on how to make resin keychains as well as where you can get everything you need to get started.
What You’ll Need to Make Resin Keychains
First and foremost, you’ll need a few supplies to make resin keychains. These include:
– Resin (make sure it’s for resin craft projects) – You can purchase a small bottle for just a few dollars. The amount will depend on how many keychains you want to make.
– Silicone molds – You can purchase these online or at a craft store. You can make plain keychains or customize them with a design or shape of your choice.
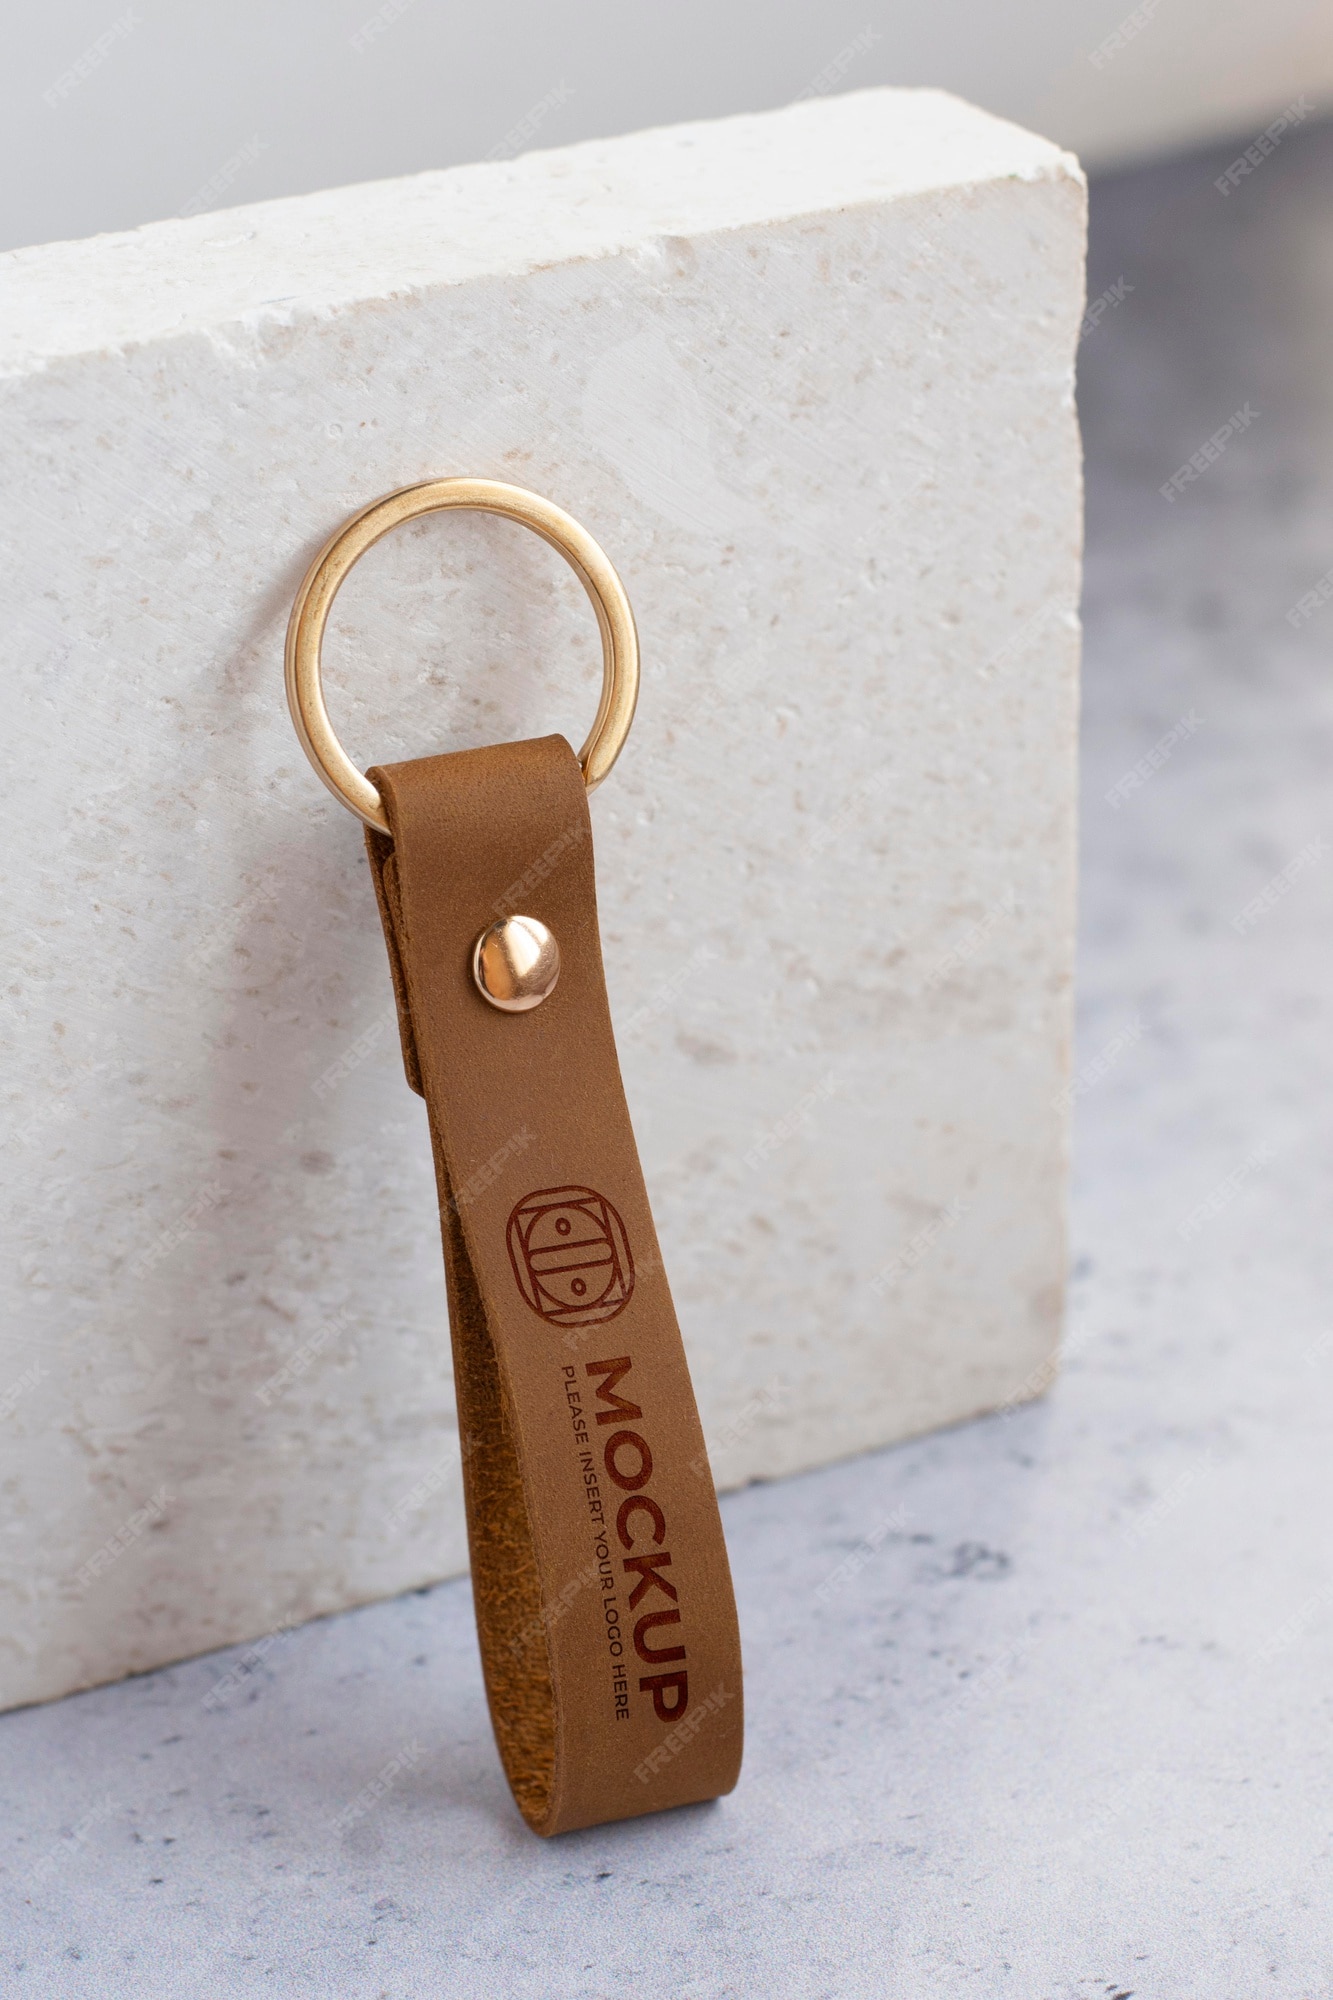
– Keychain rings – You can get these at most dollar stores. Make sure they’re metal!
– Charms – You can make your keychain with just a resin charm if you want. Otherwise, you can add other decorations like beads, stickers, etc.
– Resin glitter – This is optional but makes your keychains look even more stunning!
– A paintbrush – Make sure it’s one that’s suitable for crafts.
– Gloves – You’ll need these to keep your hands safe while working with resin.
How much resin does it take to make a keychain?
How long does resin keychains take to dry?
Resin keychains are usually made out of a mixture of different chemicals and resins. The substances combine to give the end product characteristics that aren’t found in other materials. An important characteristic that resin keychains have is moisture proofing.
If a piece of resin keychain isn’t moisture proof, it will sweat and get wet when it is humid. This is because resin keychains are porous, which means they have lots of tiny holes in them.
When the humidity outside increases, the air inside your home will become humid as well, which can be dangerous for some types of resins. In order to avoid any issues with humidity, you may want to know how long does resin keychains take to dry after making it?
The clear cast resin is a great one to work with, because it domes beautifully in simple projects like this. You let it dry, for about 24 hours until it’s no longer tacky, and you’re done!
Mixing the resin
When it comes to mixing the resin, the process is pretty simple.
First, take the resin and pour it into a container. Then, add a few drops of the activator and mix them together until the resin is fully dissolved.
Next, pour the resin into the molds and let it sit for about two hours or until it’s completely hardened. Once the resin has hardened, you can pull the keychains out of the molds and hang them on your keychain rings. You can also use the resin to make a resin charm by pouring it into a small jar with a lid or any container with a small opening.
Craft stick and keychain ring preparation
Once the keychains have hardened, you can add the craft stick and the keychain ring. To do this, you’ll need to sand the edges of the keychain ring if they’re rough.
Next, take the craft stick and push it into the center of the keychain ring and let it dry. You can use a clamp to hold the craft stick while it dries. Once the keychain ring is dry, you can glue the craft stick onto it using a hot glue gun. Make sure to glue the craft stick to the inside of the keychain ring to hide it.
Decorating your keychain with charms
Next, add some charms to your keychain to give it a personal touch and make it stand out from the rest. You can use any charms you want or even small pictures or stickers to decorate the keychain. If you want to use charms, you can glue them to the keychain ring or the craft stick.
Finishing touches: adding color and glitter
You can color your resin keychains with acrylic paints to give them a pop of color or make them look even more beautiful. You can also add glitter to your keychains to make them look even more stunning and stand out from the rest.
Conclusion
Resin keychains are a fun and easy craft project to make and can be used as gifts or as decorations. You can make them in any shape or design you want, and the possibilities are endless! These are great beginner projects and are suitable for all ages.
So, if you want to make something unique or want to save money, making your own resin keychains is a great idea!